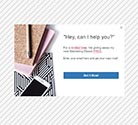
Choose based on layout. (Image, text and color can be changed easily.)


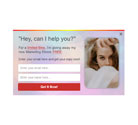


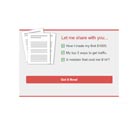


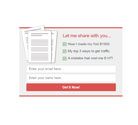


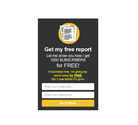

Connect a manager to collect emails (or disable opt-in).
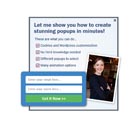
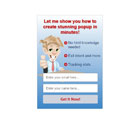
Choose how your form will appear on your website.
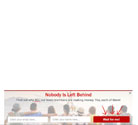
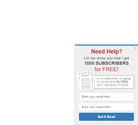
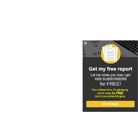
Overlay forms that appear on top of your page.
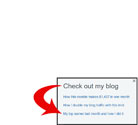
Forms embedded directly into your content.
(Pro Member only)
(Pro Member only)
(Pro Member only)


px |
px |
px |
px |
px |
px |
px |
px |
px |
px |
px |
px |
px |
px |
px |
px |
px |
px |
| To Collect: | Use Input Name: |
| Email First name Last name Other custom fields | email name lastname any1word (e.g. tel) |
px |
px |
||
px |
px |
px |
px |
px |
px |
px |
px |
px |
px |
px |
px |
px |
px |
px |
px |
px |
px |
px |
px |
px |
px |
|
px |
px |
px |
px |
px |
px |